Your cart is currently empty!
Print with Salsa Photobooth and Snappic Software
A step-by-step walkthrough of how to print using the salsa photobooth and snappic software. By the end of this blog post you will have all of the resources and information you need to start printing with salsa photobooth and snappic software right away!
Table of Contents
- What you need
- Downloads
- Setup
- Connecting the devices
What You Need
- Salsa Photobooth
- DNP620a printer & printer media
- A white ikea lack table
- Salsa plus software subscription
- Snappic pro subscription
- 15-25ft Printer Power Cord
- 15-25ft Printer to Laptop Cable
- A windows or macbook computer
- A usb to lightning adaptor (If you’re using a macbook)
- A travel router
Downloads
- Download the Snappic App to your ipad.
- Download the Salsa App to your ipad.
- Set up your event in snappic.
- Download the driver for your DNP printer on your laptop.
- Download the snappic printer driver on your laptop.
Set Up
- Setup your photobooth backdrop.
- Setup your Salsa photobooth.
- Place the ikea lack table directly behind your salsa booth and place your printer on the table.
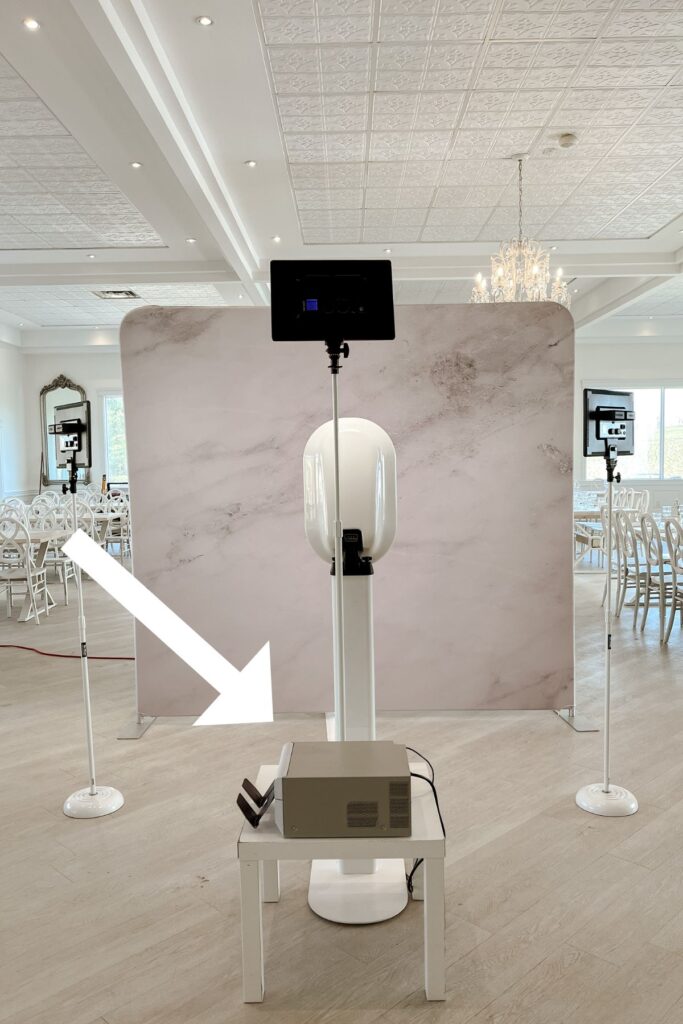
4. Plug the printer power cord and printer to laptop cable into the backside of the printer.
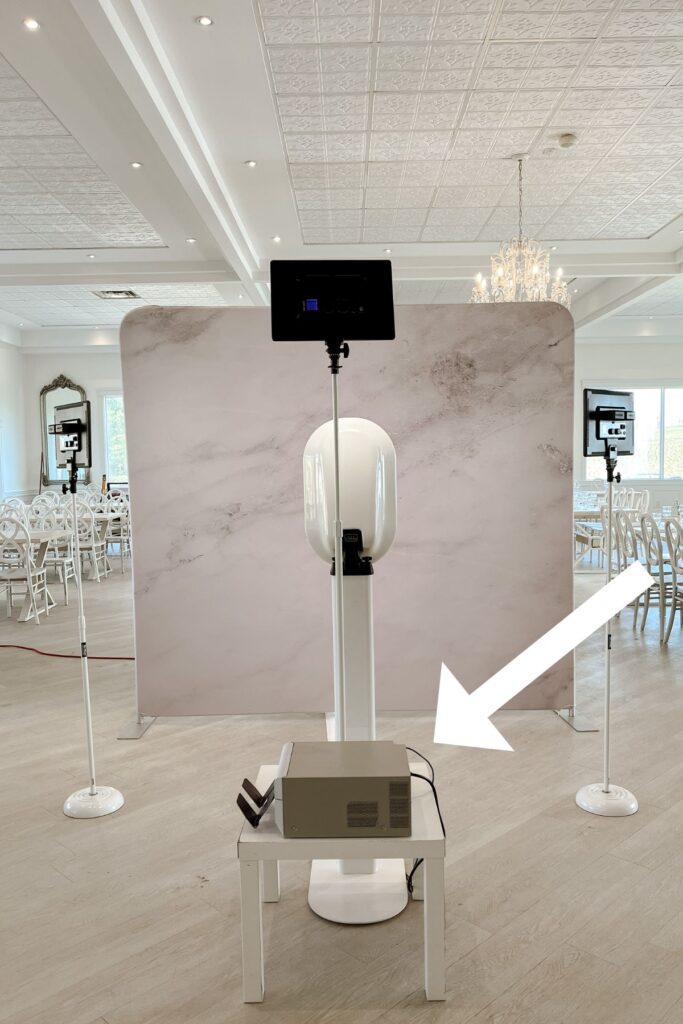
5. Feed the cables from your printer under the table and then tuck them underneath the back or side of the salsa baseplate. Feed them out the front of the salsa baseplate in the same location that your salsa power cable comes out.
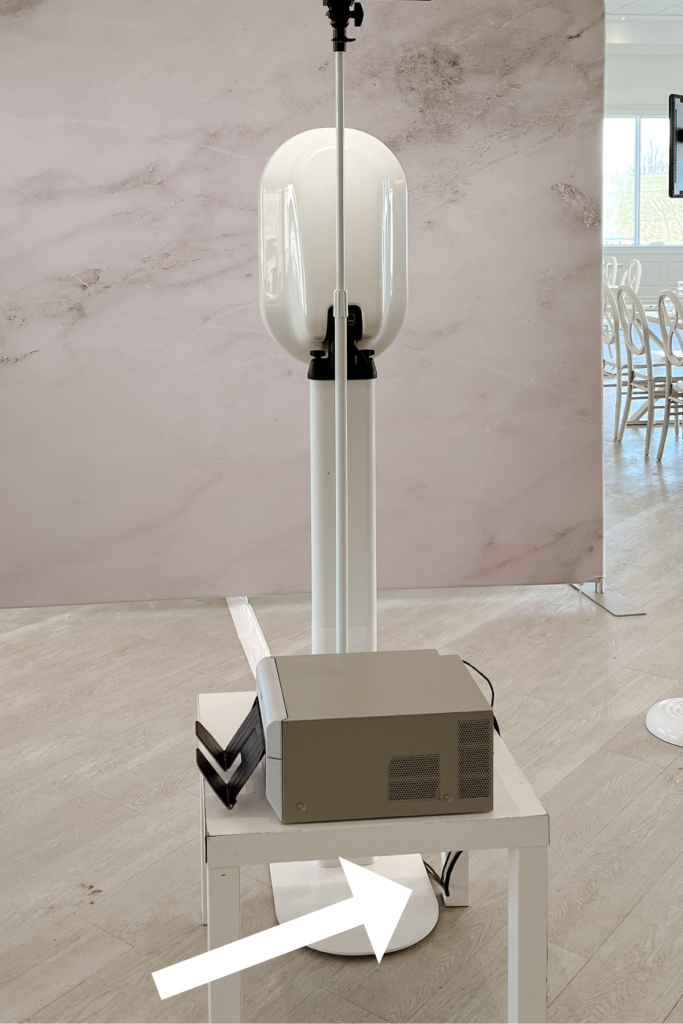
6. Place all 3 cords together on the floor and tape them in a straight line from where the extend out the front of the salsa baseplate to behind the backdrop.
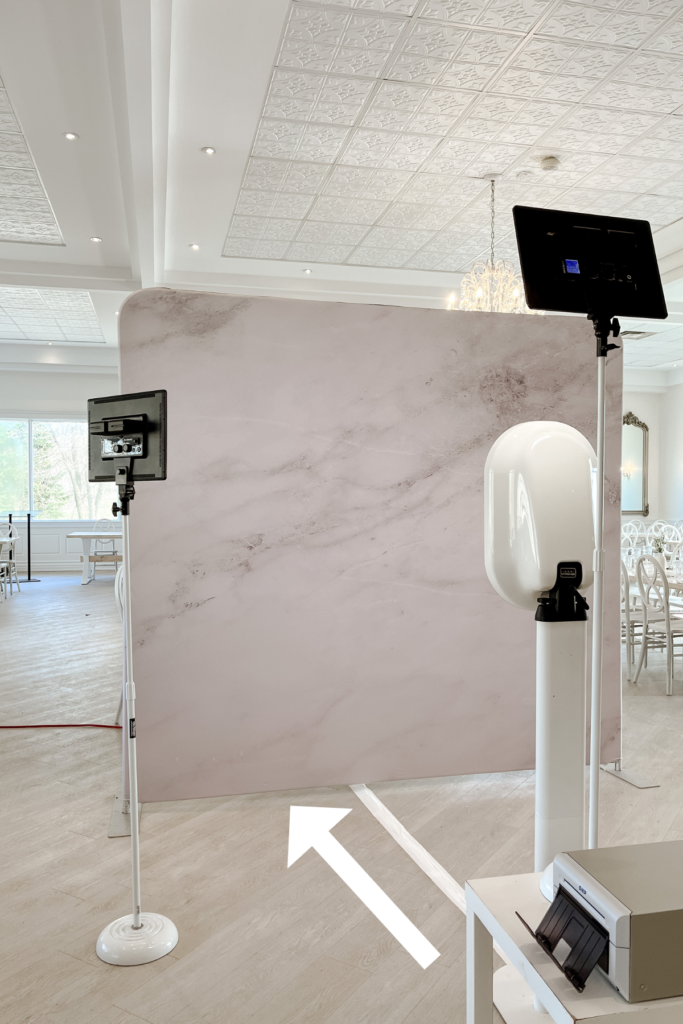
7. Plug in an extension cord behind your backdrop.
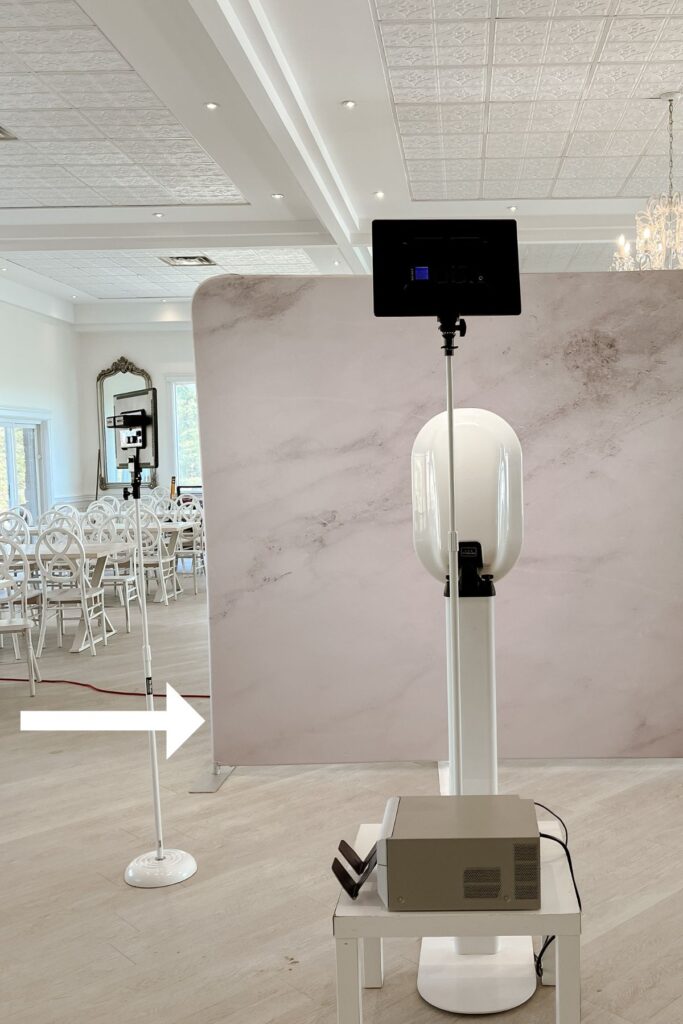
8. Plug the salsa + printer power cords into the extension cord. Your printer to laptop cable will be plugged in shortly.
9. Pull out your laptop and place your laptop behind the backdrop next to the extension cord. I recommend placing it inside of the salsa pelican case to prevent it from getting damaged during the event – once the set up process is complete you can shut the lid of the case just don’t latch it closed as you may damage the cords.
10. If you’re using a pc: plug the printer cable into your laptop and then skip to next section Connecting the printer, ipad + computer . (If you’re using a macbook skip to the next step.)
11. If you’re using a macbook, plug the printer cable into the USB- lightning adapter.
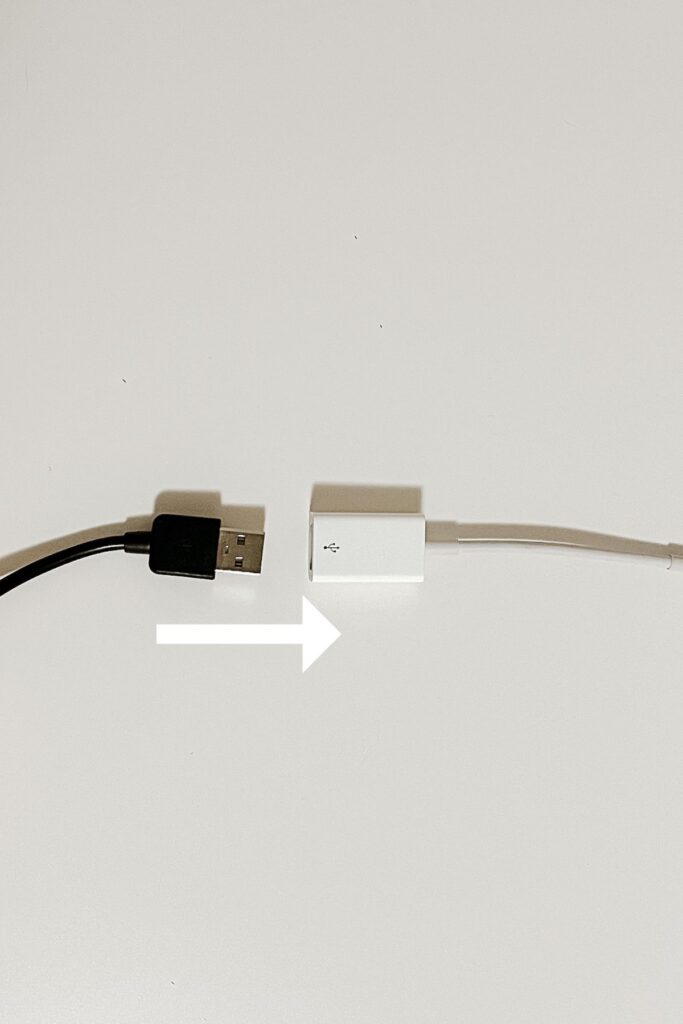
12. Plug the USB- lightning adapter into your macbook.
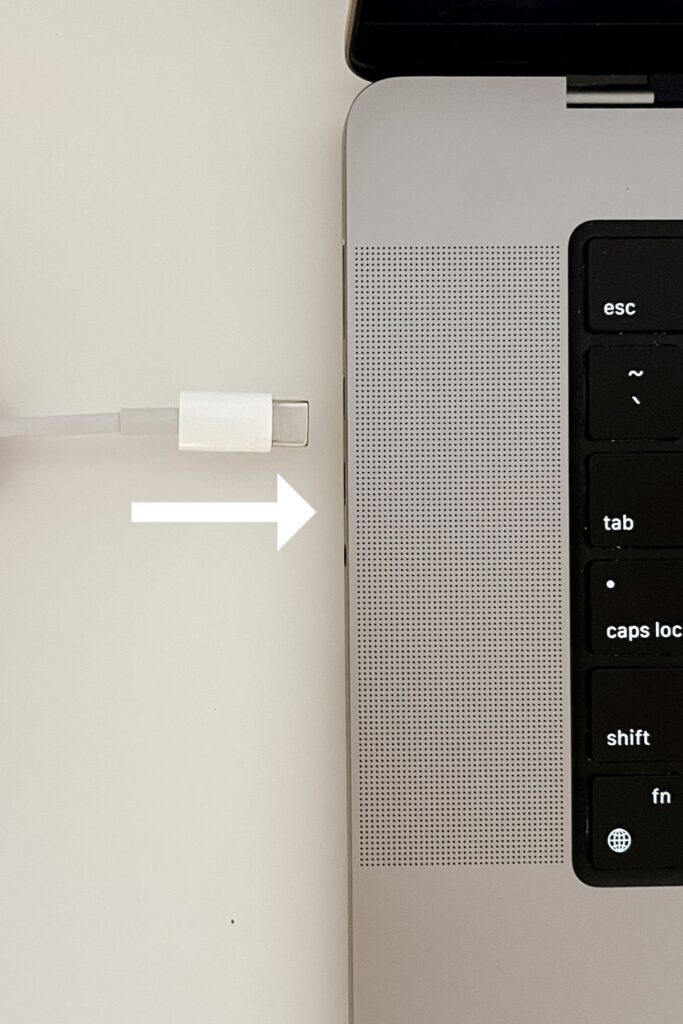
Connecting the Devices
- Connect the ipad and laptop to your travel router. Do not use venue wifi or hotspot.
- On your laptop open the snappic printer server and leave it open.
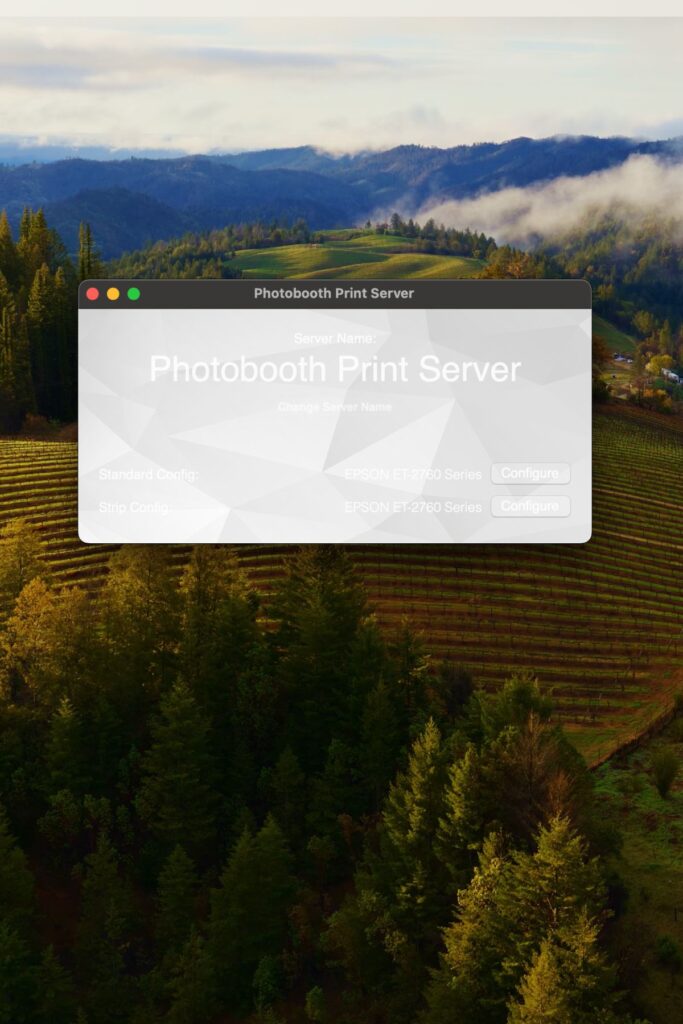
3. On the ipad open the salsa app.
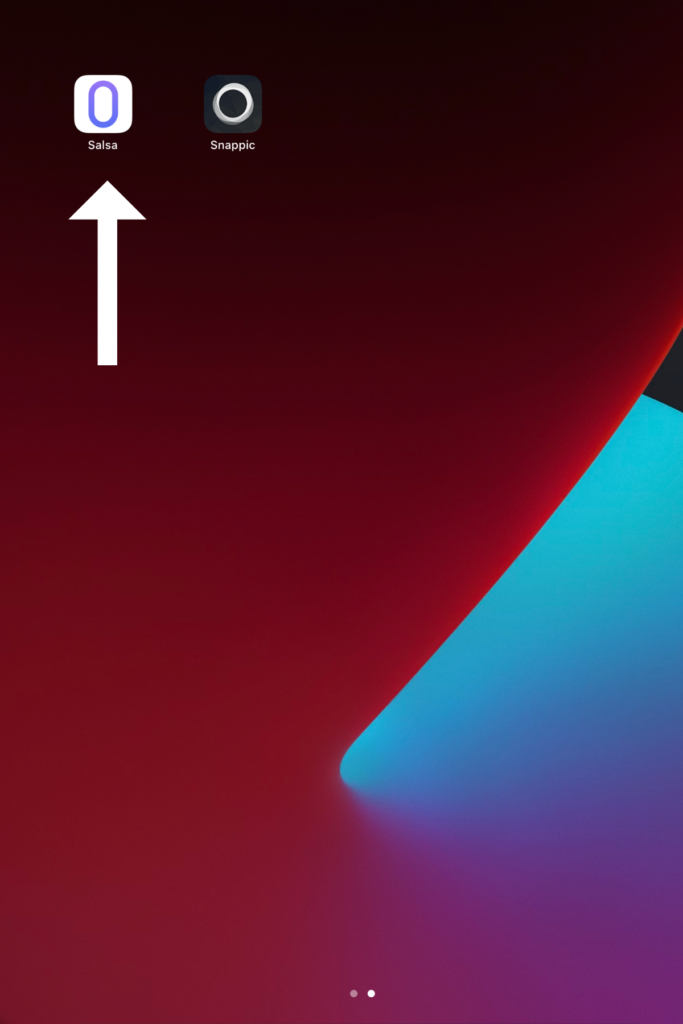
4. Click on settings (the gear wheel in the top corner).

5. Click on lamp mode. This will turn on the ring light when the ipad is installed in your salsa booth.
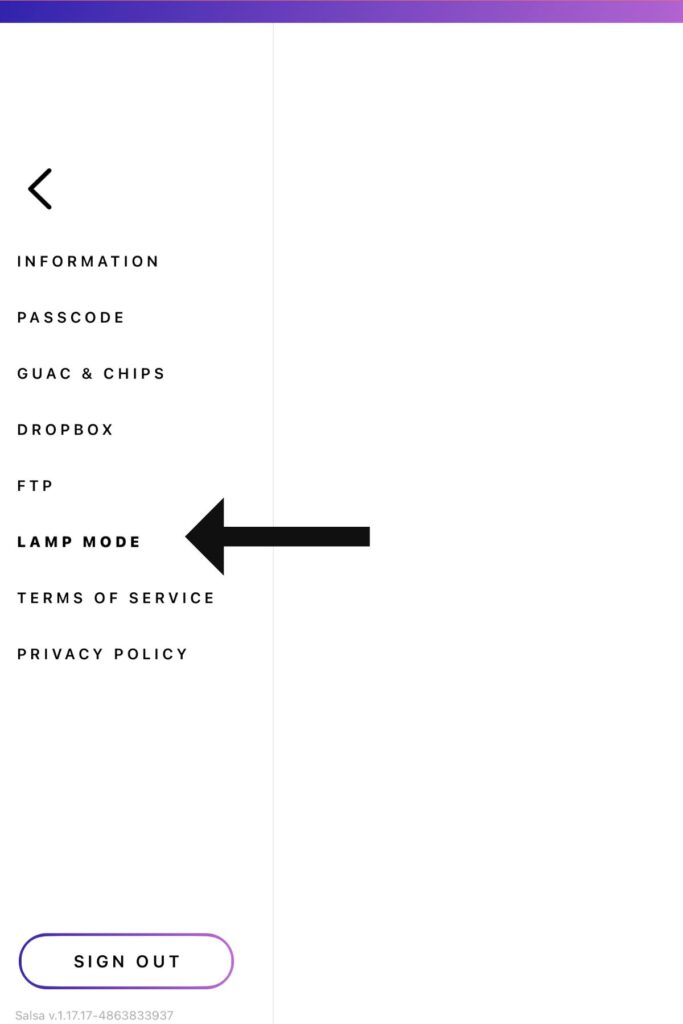
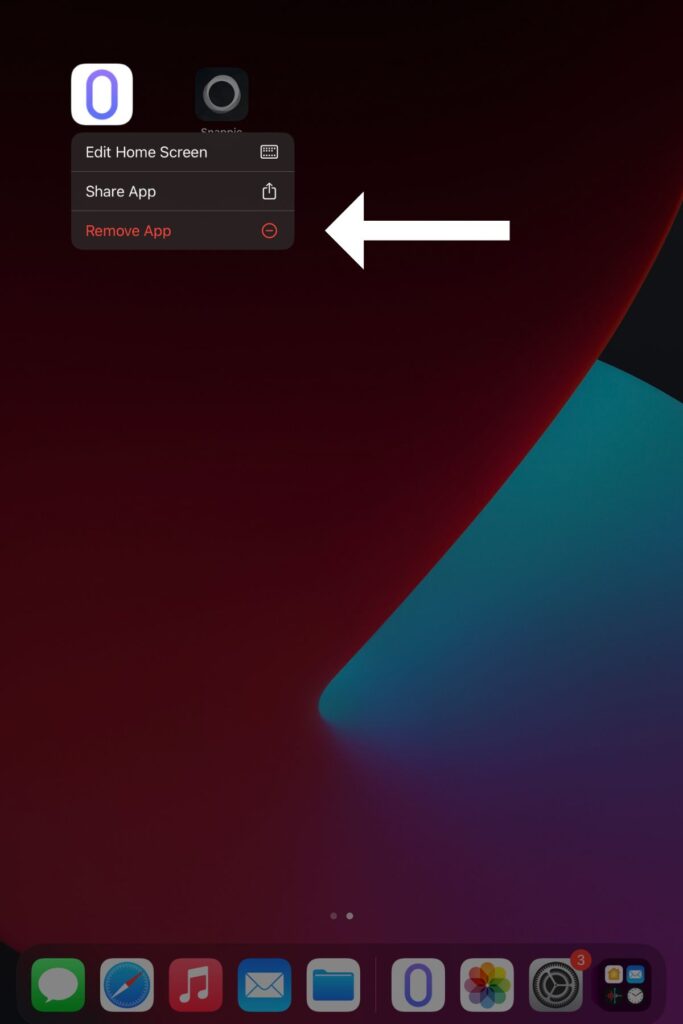
6. Once the right light is on, exit out of the salsa app completely and delete the app from your homescreen. You can now cancel your salsa subscription if you’d like.
7. On the ipad open the snappic app.
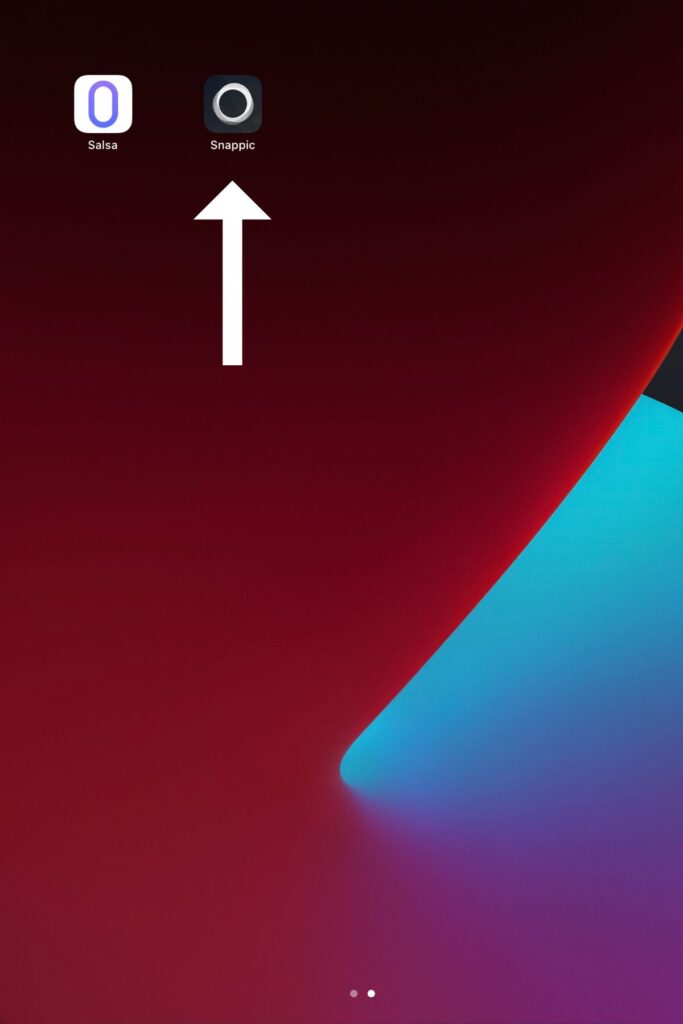
8. Select your live event.
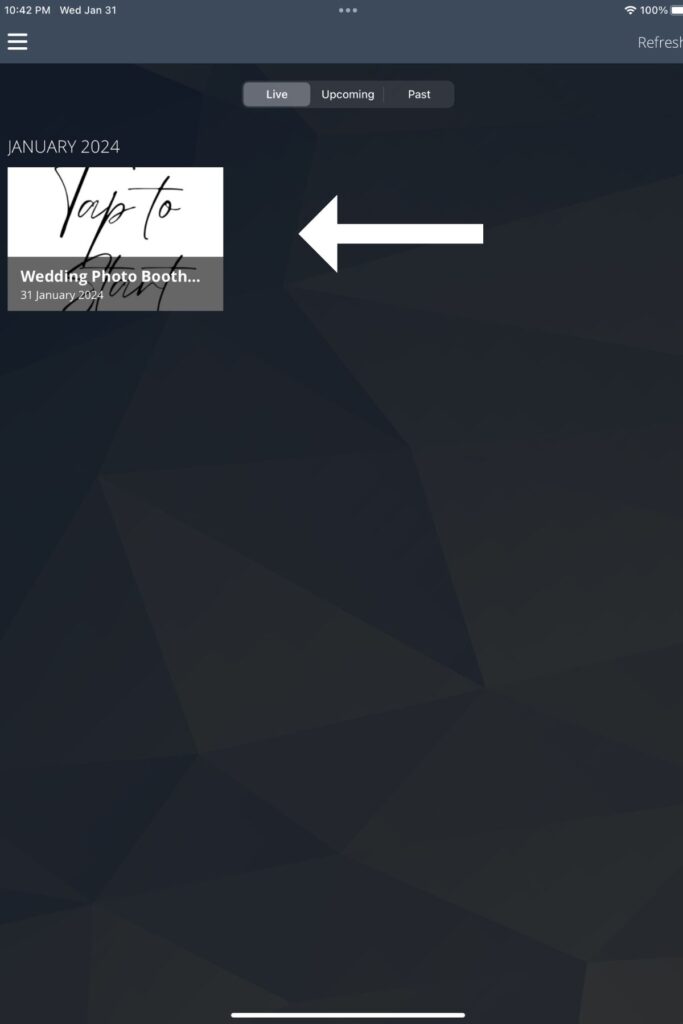
9. Click on configure printer.
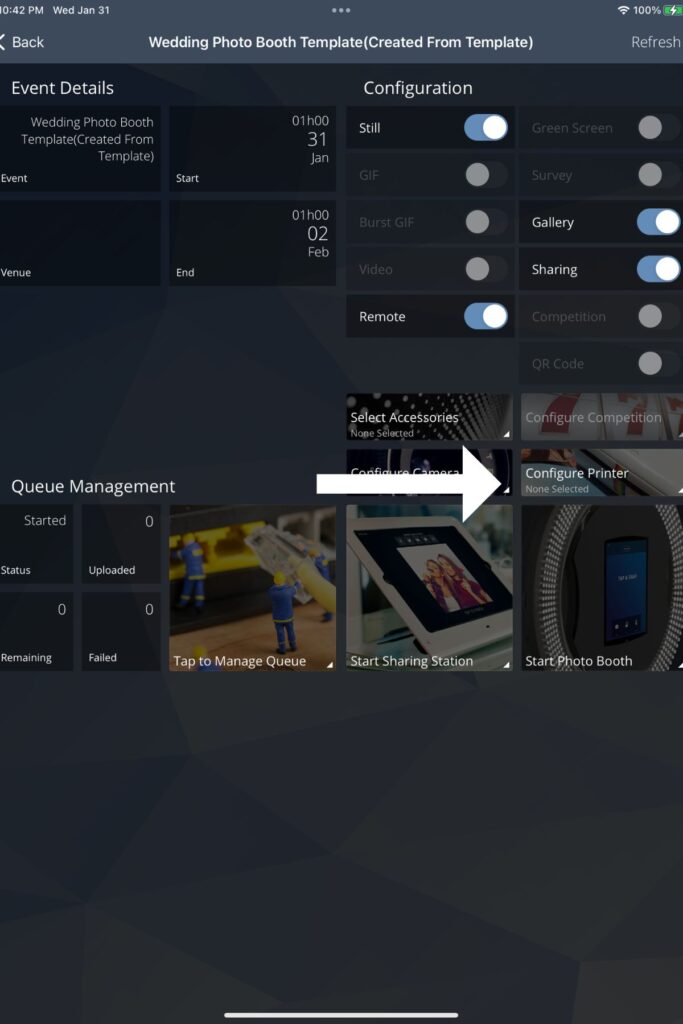
10. If you have completed all of the previous steps correctly you will see the printer server pop up within the configure printer tab. Select the snappic printer server from the list of printers.
You can now print with salsa photobooth and snappic software!
« Photobooth Owners Guide to PBX 2024 — Previous Post
Using Jot Form in your Photobooth Business » — Next Post
Keep reading...
You might also like these reader favorites
Trusted by photobooth owners worldwide
Impress Your Clients with Unique, High Quality Photobooth Essentials
Explore Our Curated Shop
Explore our curated collection of resources including on-trend stock images, templates, and more to wow your clients.
See the curated TPE shop
Stand Out in a Crowded Market with the Latest Photobooth Trends
The Booth Stock Membership
Get exclusive access to stunning, seasonal stock photos & bonus content to showcase what’s possible and win bigger budget events.
Join the photobooth edit
Want 5 free photobooth stock images, on the house?
Free download

